|
|
Continue the interactive terminal session by following the instructions given on this web page. If necessary complete the tutorial in your own time.
1. CHANGING YOUR PASSWORD |
|
Once you have familiarised yourself with the logging on procedure it is important to change your password to one known only to yourself and which you will easily remember (some of you may already have done this). There are restrictions on what sort of password is acceptable. A valid password must:
Decide on an appropriate password. |
To change your password press (don't do it yet, read to the end of this paragraph first as the desk top will be temporarily obscured once you have invoked the change password program) the "Ctrl" "Alt" and "Del" keys simultaneously. A window will appear --- select the "Change Password" button and follow instructions. You will be asked to type in your new password twice, the second time to verify. If all goes well a message will appear confirming that your password has been changed. Select "cancel" to get back to the desk top. Make sure you remember your password, you will need it next time you wish to log in. Note that if you forget your password there is nothing we can do other than re-register you "from scratch". |
3. ELECTRONIC MAIL |
|
An important means of communication, using computers, is electronic mail (or email). Email allows you to communicate with anybody around the world who has a computer with appropriate software and the required network connections. Many email software packages exist, when running the Windows XP OS we recommend Pegasus Mail. To run Pegasus click on the "Start" button (bottom left on task bar) and the select "Pegasus Mail" icon (see icon given in Figure 1) and follow instructions given on a sperate WWW page located at http://www.csc.liv.ac.uk/~paddy /Pmail/Pegasus%20Mail.htm. |
To send a message click on the small "pen and paper" icon in the top left-hand corner --- another screen will appear. Fill on the email address of the person you wish to send an email to and the the subject of the message (one or two words will do), and then add the text. When you have finished press "send". Explore the Pegasus email interface further and try and send a message to your "neighbour"! 
Figure 1: The Pegasus mail icon |
4. USING WINDOWS |
|
Double click on the "myComputer" icon (Figure 2) on the left hand side of your desk top. A window of the form shown in Figure 3 will appear. For the time being ignore the contents of this window, instead try the following: 
Figure 2: The my computer icon |
|
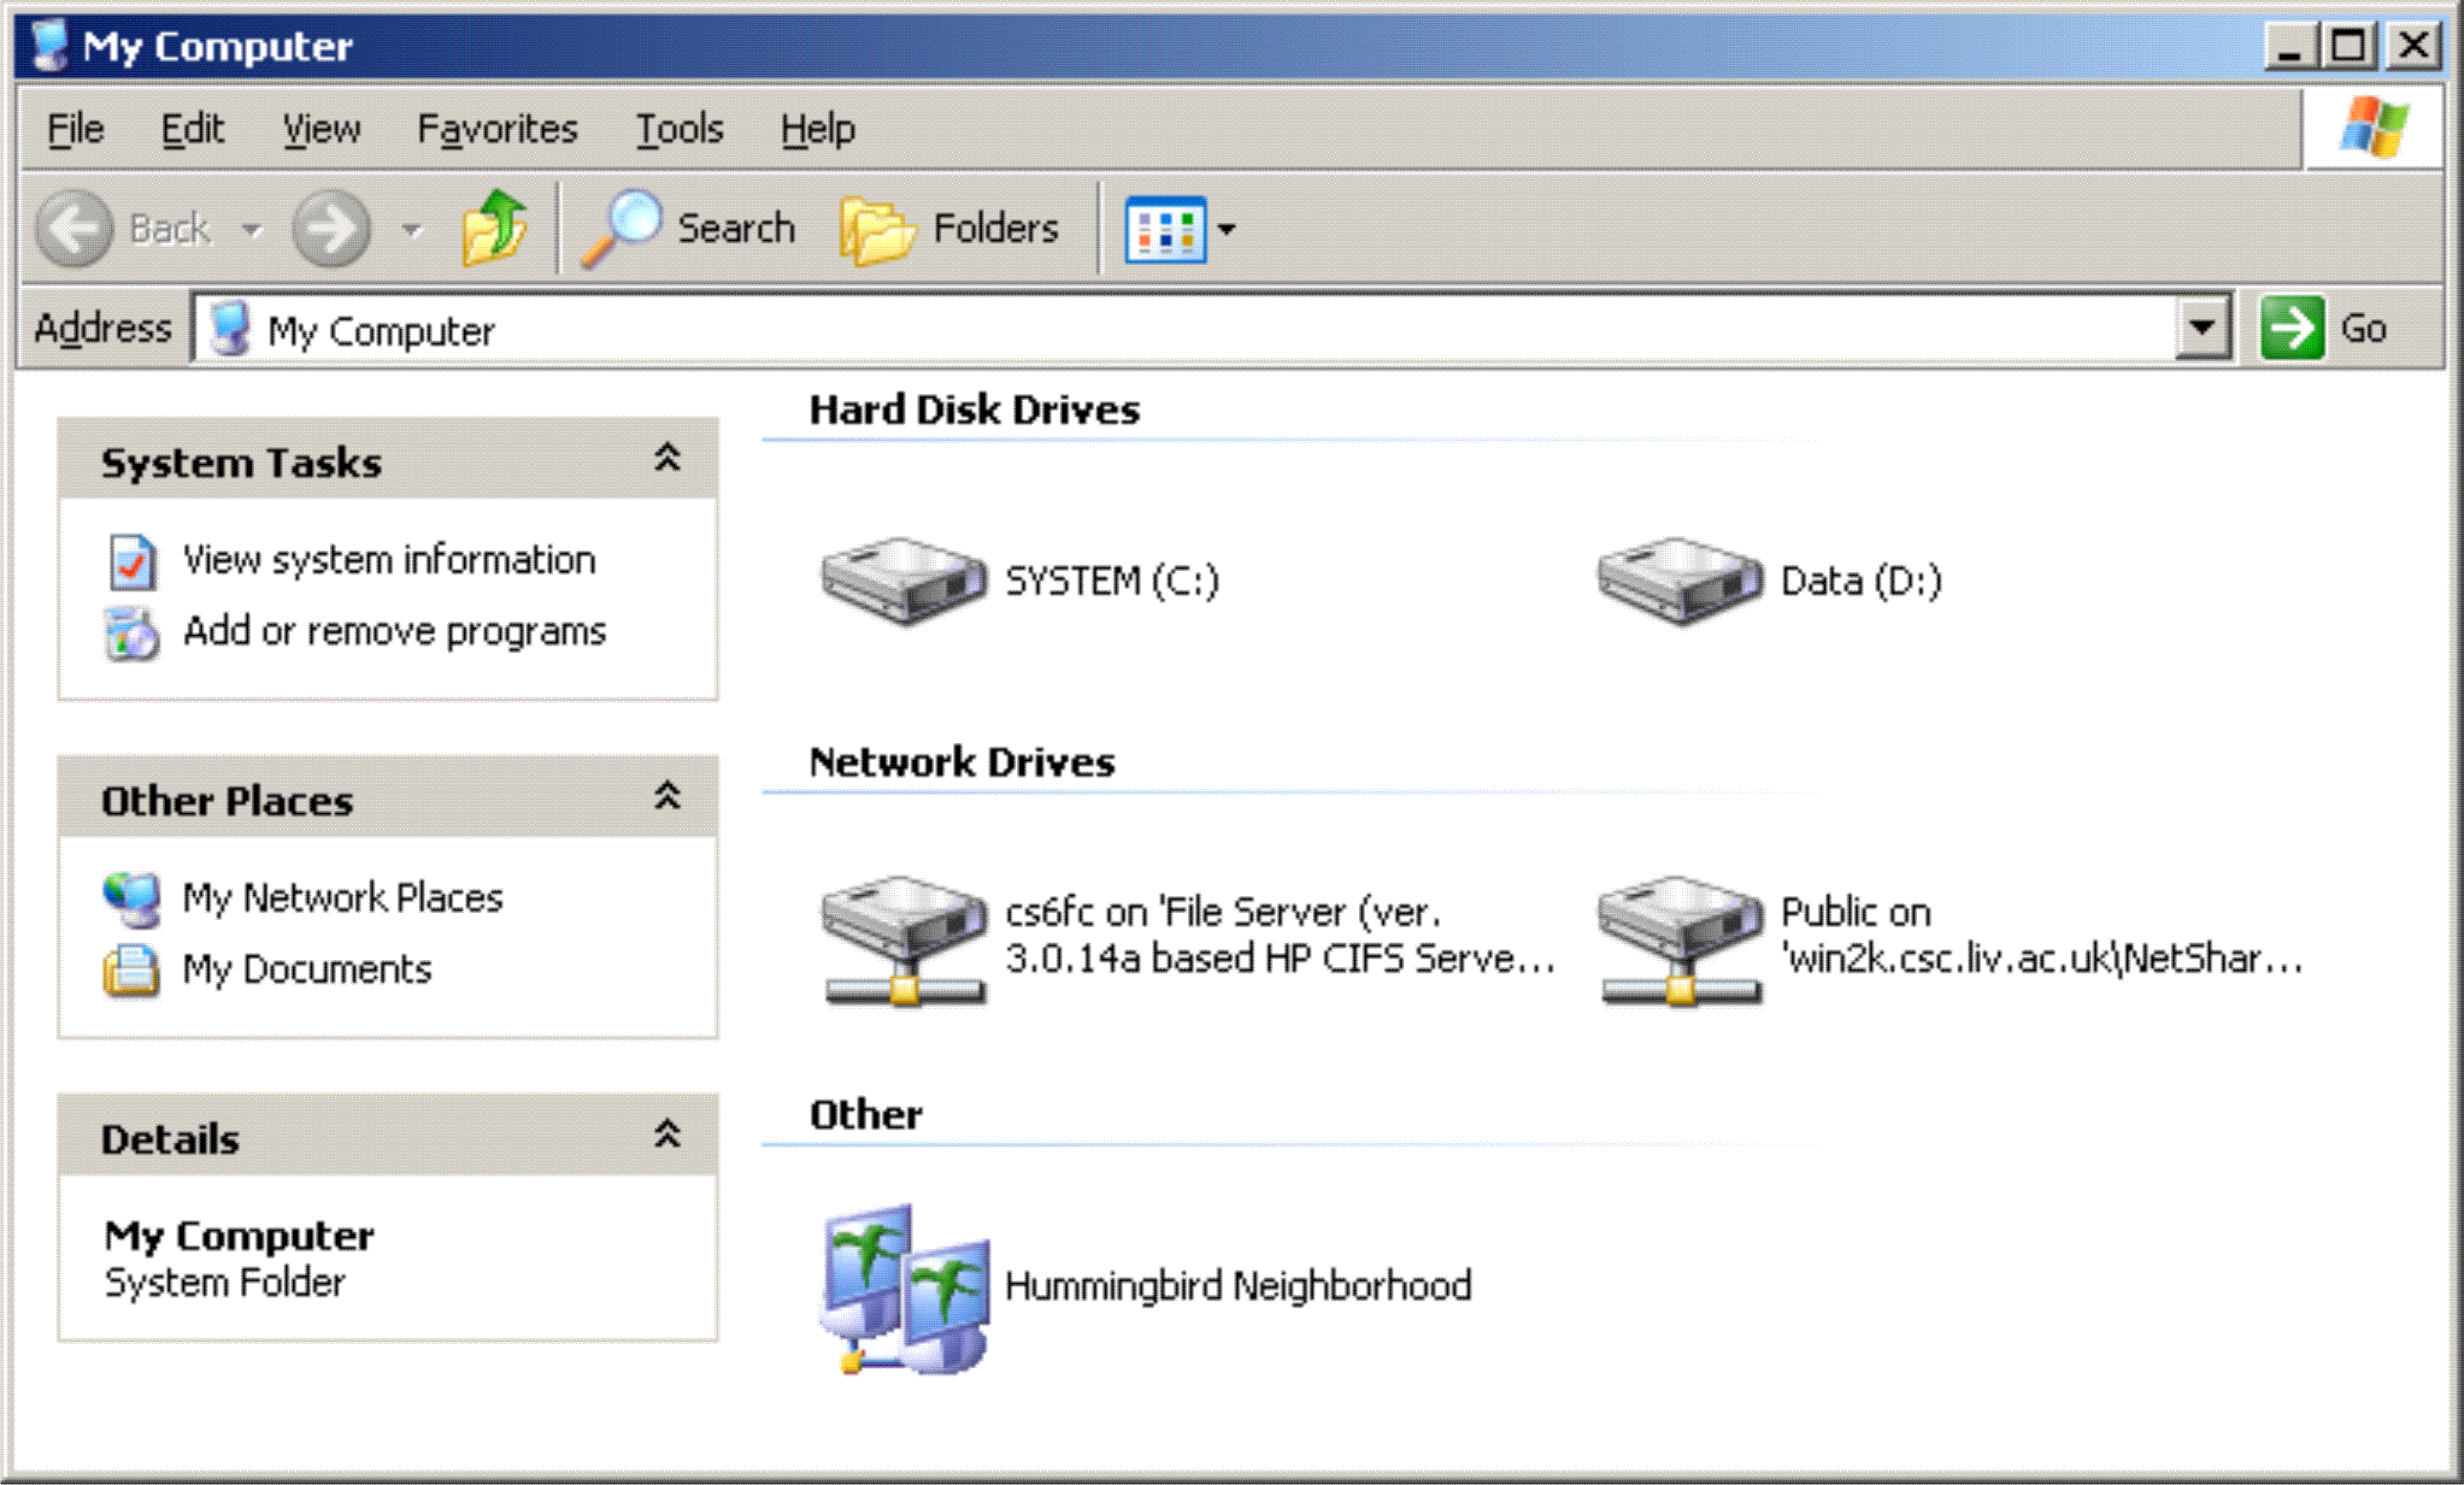
Figure 3: Example window
5. WORKING WITH DIRECTORIES |
|
The type of program you have invoked by double clicking on the myComputer icon is called a file manager (there is another available called Windows Explorer). Displayed in the window you should expect to see the following:
The function of the window manager program is to help you manage your directory structure. Double click on the "... on 'File server" label (your file store). This will take you to your home directory which will already contain a number of system and programme folders/directories and files. As highlighted in last week's Friday lecture it is a good idea to organise your file store in a logical manner. To help you do this the file manager allows you to:
|
Use the file manager menu option buttons to create a folder/directory called Admin (you will be using this later in this tutorial). You will see that you already have a file called myTimetable.txt (this has been placed in your home directory by the system administrators). You will need this file later in the tutorial. In the meantime try copying/moving it to your Admin folder by "clicking", "dragging" and "dropping". To delete a directory you select it by clicking on it and then go to the edit menu and choose delete. Try this by creating another directory and then deleting it. Most of the functionality provided by the window manager is fairly self evident and can be discovered through a process of experimentation by clicking on directories and files and selecting items from the resulting menus. While you have the file manager open check the tool bar to see if it is listed as one of the applications you are running! |
6. CREATING A FILE |
|
One way of creating a file is to produce a text file using a text editor. There are many text editors available. We recommend that you use an editor called Programmer File Editor (PFE), there are others (ConTEXT, Source Edit, etc.). To invoke this editor click on the start button, select "Programs", "Utilities" and then "Programmer File Editor". To create a file we click on the file option on the menu bar and then select new from the resulting drop down menu. The result will be as shown in Figure 4. Note that there are two other editors available: (1) conTEXT, (2) Source Edit, which you might prefer to use. |
To type into an edit window the window must have what is called input focus. If the edit window's title bar is blue then you have input focus, if not (i.e. it is grayed out) then simply click in the window to gain input focus. Now type some text of your own choosing into the window. Experiment with the PFE menu options and save the text you have typed in to the PFE Editor window to a file into your Admin directory giving the file the name myFile.txt. (Keep the myFile file in your home directory for the time being you will make use of it in your next tutorial!). |
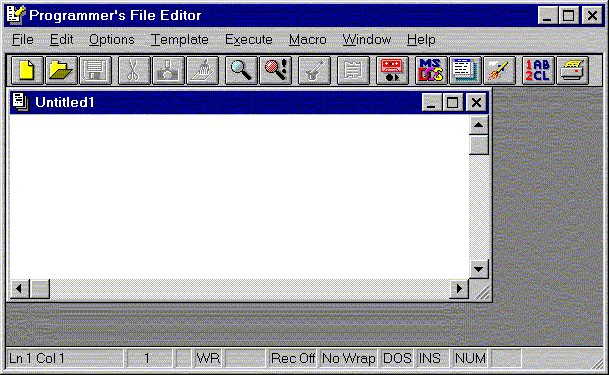
Figure 4: New file edit window
7. TEXT EDITING |
|
You are now going to edit the myTimetable.txt text file that you have copied/moved into your Admin directory. To edit the text file we again use the PFE text editor. Invoke this and load the myTimetable.txt file into it. You will see that the file contains a skeleton timetable as shown in Table 1. You are now going to use the PFE text editor program to change the contents of this file so that it includes your own lecture times, i,.e your personalised timetable. Invoke the text editor in the same way as before by selecting the Editor button from the tool bar. Load the myTimetable.txt file by selecting the file option from the menu bar, selecting open from the resulting menu, if necessary change to your Admin directory and select the myTimetable.txtfile by clicking on it. |
Experiment with the menu options and try editing the file so that it describes your personal timetable. If necessary complete the task in your own time. Make sure that you know how to do the following:
To print out your timetable again select the file option from the menu bar, but now select print from the resulting drop down menu. (Remember that your print out will be delivered to your "pigeon hole" --- you may have to wait a little while!) |
+-----------+-------+-------+-------+-------+-------+-------+-------+-------+ | | 09:00 | 10:00 | 11:00 | 12:00 | 13:00 | 14:00 | 15:00 | 16:00 | +===========+=======+=======+=======+=======+=======+=======+=======+=======+ | | | | | | | | | | | Monday | | | | | | | | | | | | | | | | | | | +-----------+-------+-------+-------+-------+-------+-------+-------+-------+ | | | | | | | | | | | Tuesday | | | | | | | | | | | | | | | | | | | +-----------+-------+-------+-------+-------+-------+-------+-------+-------+ | | | | | | | | | | | Wednesday | | | | | | | | | | | | | | | | | | | +-----------+-------+-------+-------+-------+-------+-------+-------+-------+ | | | | | | | | | | | Thursday | | | | | | | | | | | | | | | | | | | +-----------+-------+-------+-------+-------+-------+-------+-------+-------+ | | | | | | | | | | | Friday | | | | | | | | | | | | | | | | | | | +-----------+-------+-------+-------+-------+-------+-------+-------+-------+ |
Table 1: Skeleton time table
8. CUTTING AND PASTING |
|
Cutting and pasting is a way of saving on typing. We have seen how to do this using the PFE editor. It is also possible to copy from one window to another. Do the following:
|
Save the result into your file store (... on 'File Server ...') using the file name HelloWorld.java (making sure that you type the file name in exactly the same way as presented here). You now have some Java code!
Table 2: Hello world Java program |
9. LOGGING OUT |
|
At the end of the session:
|
Finally note that you can use the computer system at any time in any lab which is free - check the timetables outside each lab before you enter - labs are sometimes reserved for tutorial classes such as this one. |
Created and maintained by Frans Coenen. Last updated 22 September 2006
